So, you have downloaded Drupal 8 from the downloads page (link here) and extracted it into your web directory. In our example we have used the RC4 release – we’ll update on release day if anything changes in the process. Here’s what you do next:
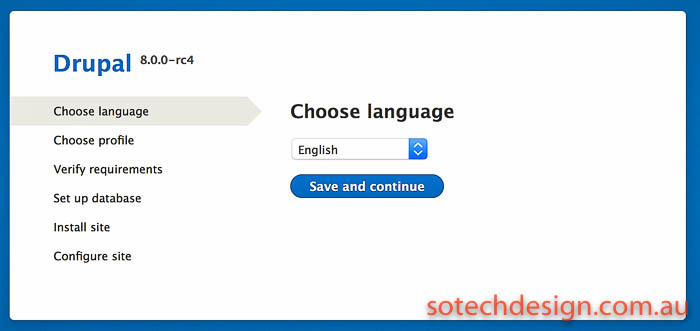
Select your language – here English:
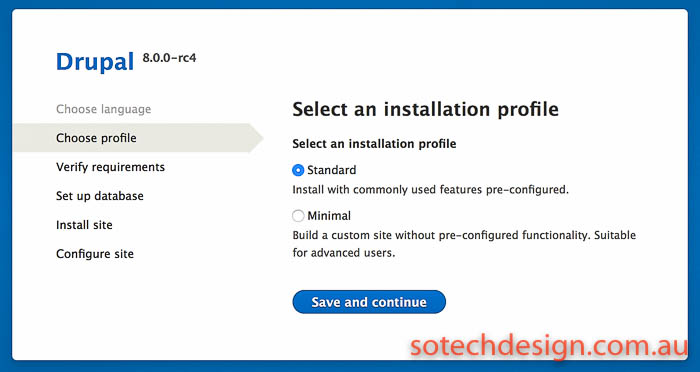
Choose your installation profile. If you’re uncertain, choose “standard” – the minimal installation really is quite minimal and if this is your first Drupal experience the standard installation is a lot easier to start from.
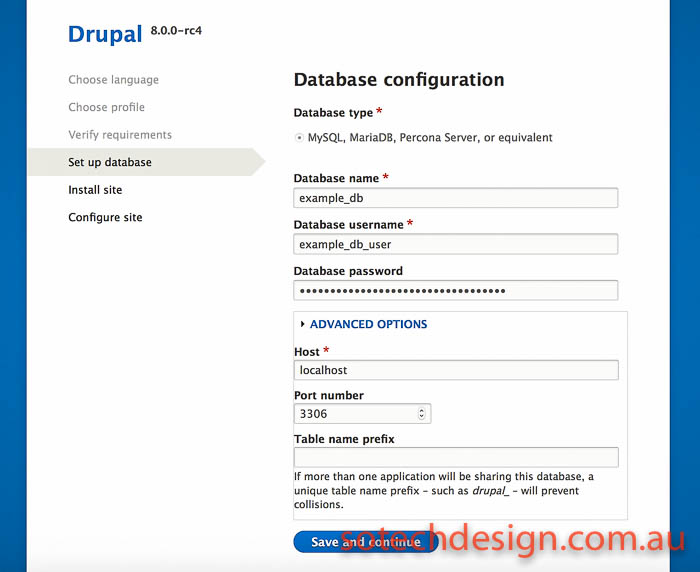
On the next screen you have to enter your database details. We’ll do a future article on how to create a database and a user in mariaDB/mysql but for now, we’ll assume that you have already done that. If your database server is installed on the same machine/VPS that you’re installing Drupal on, leave the advanced settings alone – “localhost” will be correct for the location of the database, and the port should be correct unless you have specifically changed the mysql/mariaDB port!
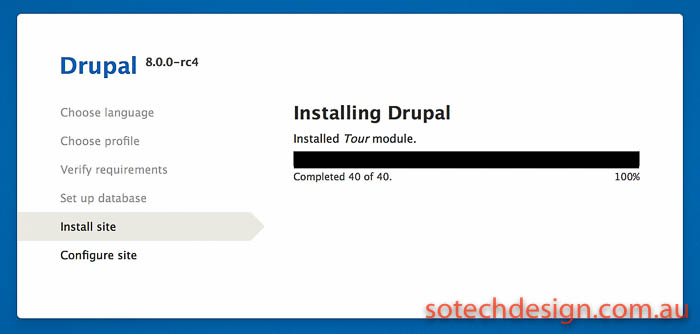
Assuming you entered the database details correctly, the next screen should be the installing process progress bar:
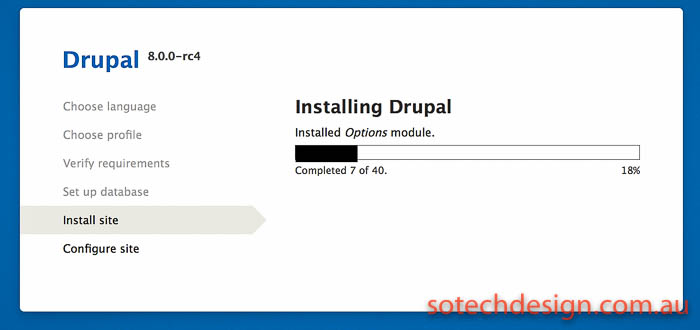
On our Binary Lane test VPS it took under a minute to complete:
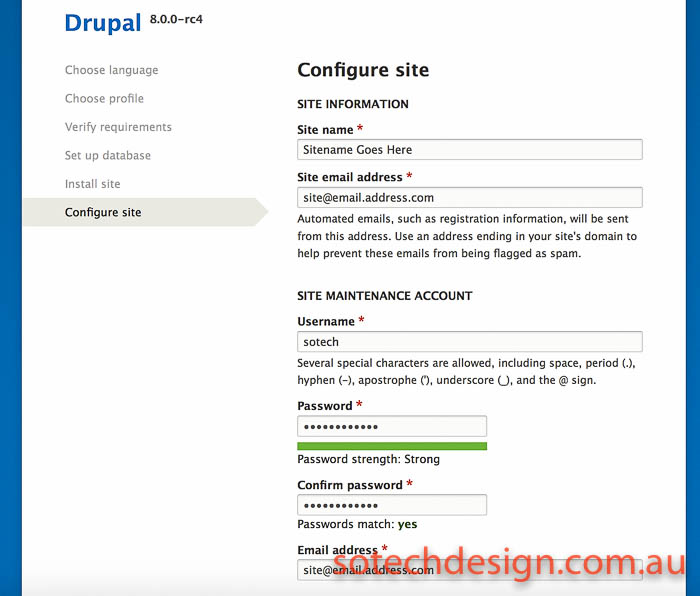
Put in your site details in the next screen. We like to choose an administrative account name that isn’t “admin”. Make sure to choose a good password! The password strength meter here seems fairly harsh on rating your passwords, which is a good thing.
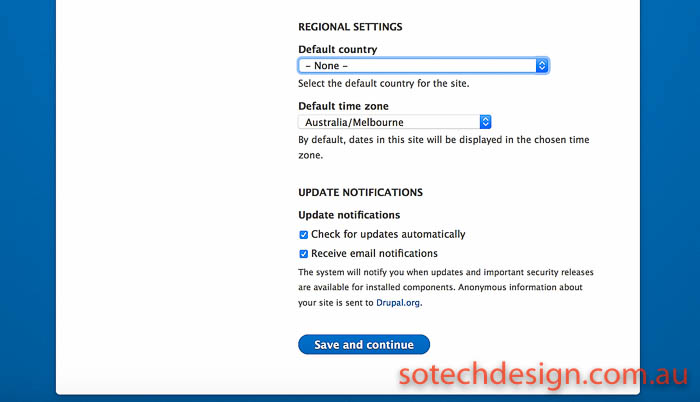
Below that, select your default country and timezone settings:
The next screen is… drumroll… your new Drupal installation!
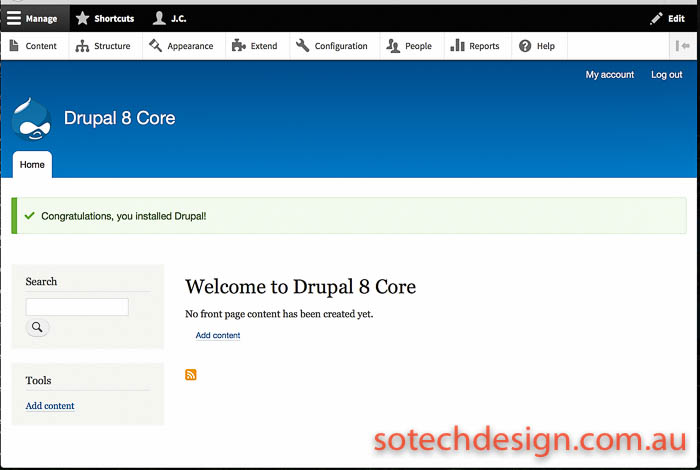
It should be a quick and painless process – now enjoy your new Drupal 8 installation! There will be a lot of people trying out the new Drupal 8 once it’s released later this month – check back here for some more articles on the latest update to one of the best CMS’ around!