Here’s how to update an existing or create a new shipping class in Woocommerce. This was written for one particular person but may help others.
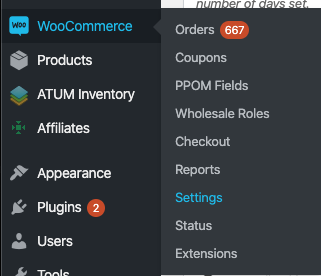
On the left, hover over Woocommerce and click on Settings:
At the top, find Shipping and click on it – here fourth from the left:

You then land on the Shipping Zones page. To see the existing shipping classes, click on Shipping Classes below the top menu:

That will give you a list of all of the different shipping classes. Clicking edit on that screen doesn’t do much but rename them. To add a new class, use the Add button on the bottom right of the page. To change how much those classes are actually charging, go back to the Shipping Zones page, then click on one of the Zone Names.
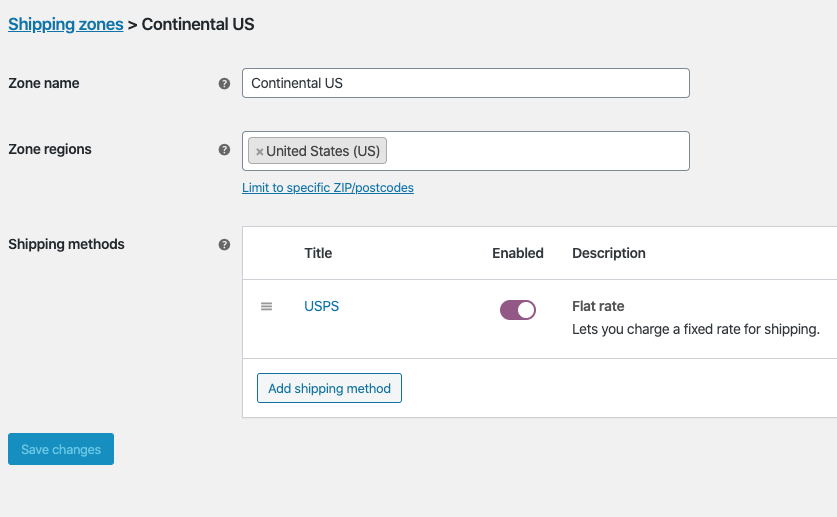
In this case there’s only one option, so hover over USPS and Edit will appear beneath it. Click on that.
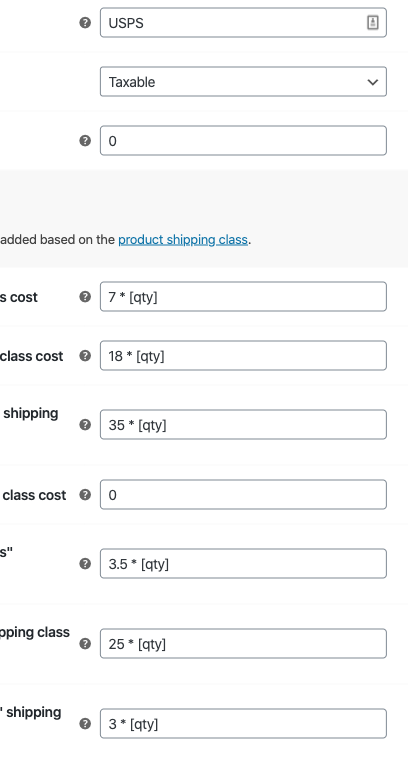
Copy the syntax from an existing one and change the figure if desired. [qty] stands for quantity – so if multiple items are ordered it will charge the $$ figure once per item. If you just want it to charge the shipping fee once just put a single dollar figure in with no * or [qty].
Once you are done hit Save Changes at the bottom right.
Want to change the same class for another country? Head back out to the Zones and repeat the process for each zone.