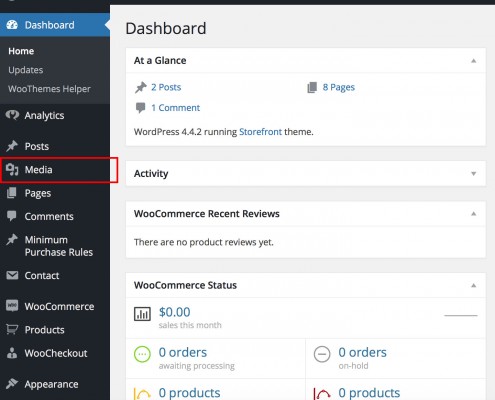
First, log into your website at:
yourwebsiteurl.com/wp-admin/
Enter your username and password and you should be directed to your WordPress dashboard.
First, we’ll upload some images to go with the products you’re adding today. On the left you will see Media:
Hover over it and you should see “Library” and “Add New”:
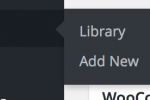 Click “Add New”.
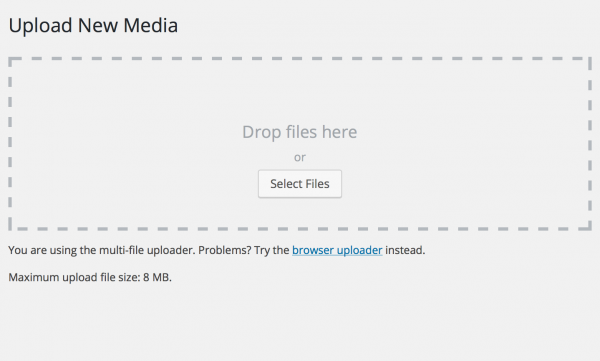
Drag and drop some files in, or click “Select Files” and choose them from your file system. You will see the progress bars for each file below the selection area. Once all of the relevant media files are uploaded, look on the left for “Products” – hover over it and you should see “Add Product”:
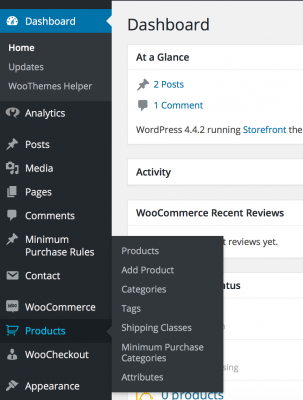
Click on that, and you’ll unsurprisingly be taken to the “New Product” screen.
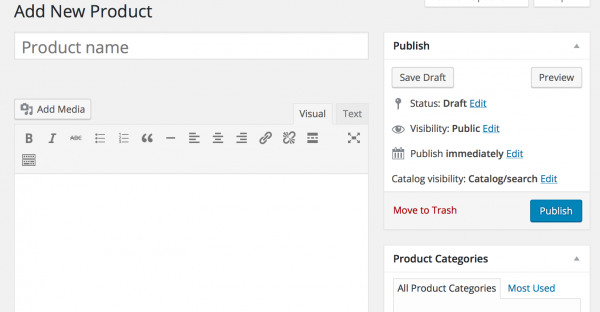
Here you can add the product name, choose the category it should appear in – you can pick multiple categories – and add the contents for the product page, including additional photos/videos. Add the text in the blank white box on the lower left, and add images/video/etc. with the “Add Media” button. Scrolling down you should see some more info you need to add:
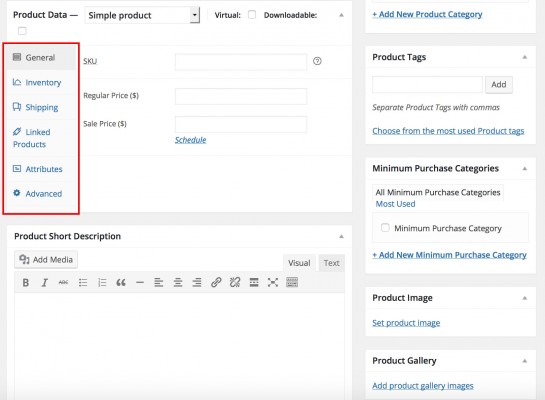
Most of it is self-explanatory – you’ll need to set a product image that appears in the search results and category views, and click on the various tabs in the area with the red rectangle around it to add the various info there.
Once you have done that, head back up to the top and click “Publish” to make the product live!