Here’s how to add a new product in Woocommerce.
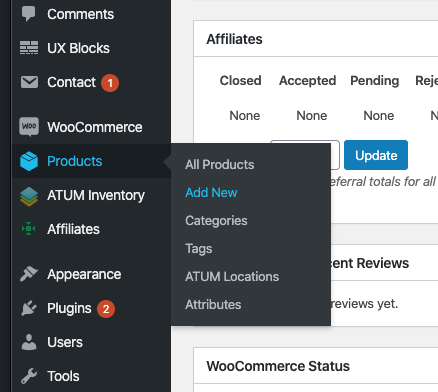
On the Dashboard, on the left hand side, hover over Products and click on Add New:
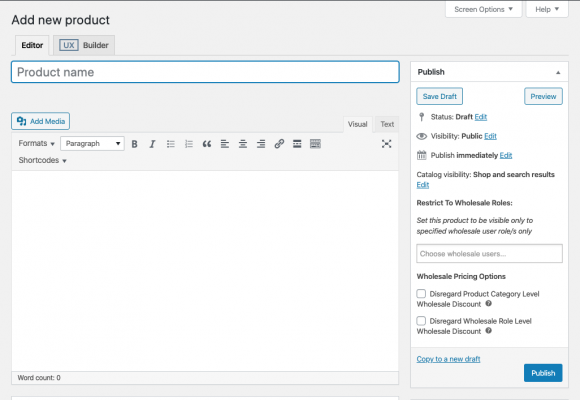
Fill out the Product Name at the top and then write a description in the white box below:
Scroll down:
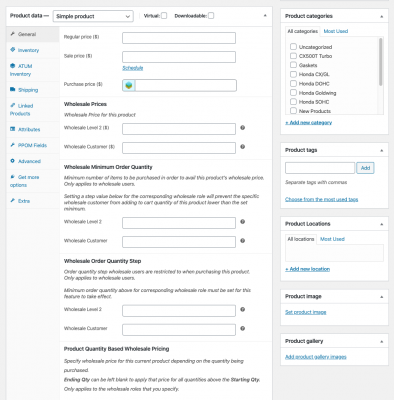
Make sure you fill out the Regular Price and select a category on the right hand side.
Once you have done that, click on the Inventory tab on the left to mark it as being in stock or out of stock. Then click on Shipping, fill out the weight and dimensions, then select a shipping class. The latter dictates the shipping rates.
Once you have done that, on the lower right select “Set Product Image”;

From there, drag and drop your desired product image into the screen and it’ll upload it. Once that is done, click on the blue button in the lower right hand corner to set the product image.
This is just one image and it’ll be the main product image – if you want to have a gallery of images you can set that after you set the individual product image. Once back on the main product page, select Add Product Gallery Images to add multiple images.
Once you have done all that, scroll back up and hit Publish – blue button on the right hand side – and the product will be live.