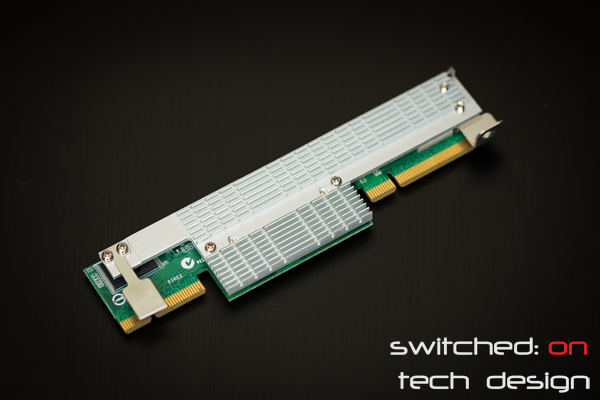
As a non-standard PCI-Express card, the Asus PIKE card involves a slightly different installation procedure.
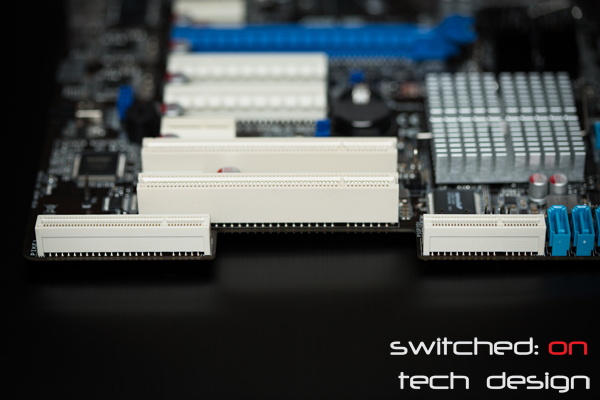
The PIKE slot sits on either side of a gap in the motherboard:
You’re definitely not going to mistake it for a regular PCI-Express slot. The card only goes in one way, with the heatsink facing the PCI slots; it can be a little hard to get in sometimes as it needs to be inserted from almost directly above.
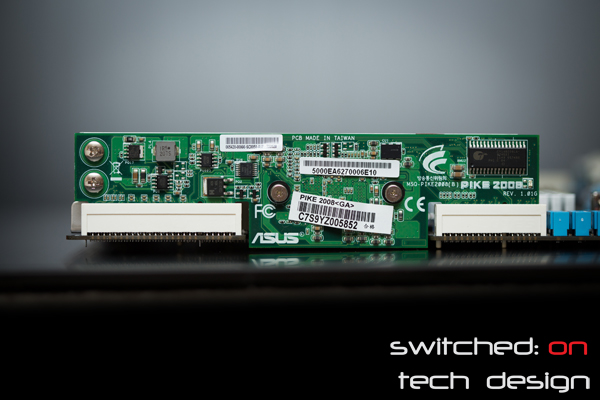
Motherboard-side view:
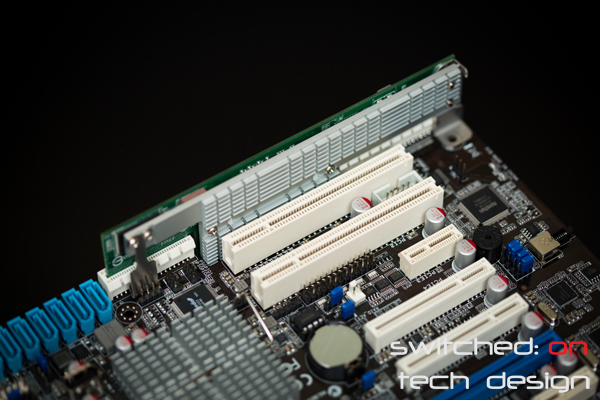
The card is secured on either end; on the side closest to the SAS/SATA ports, it hooks under a latch on the slot:
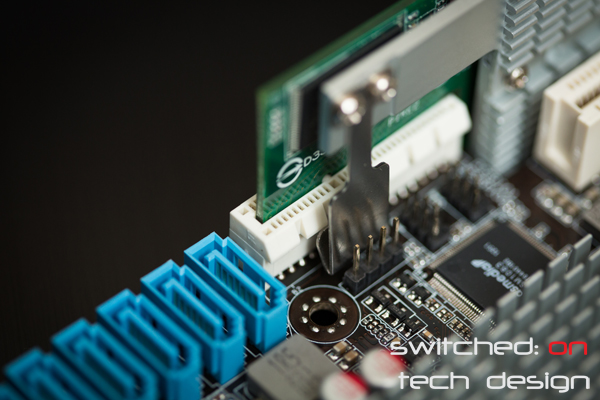
Here you can see the metal part of the PIKE card latching underneath the slot’s edge. You can also see how close other board components often are to this end! The other end sits over one of the motherboard mounting holes:
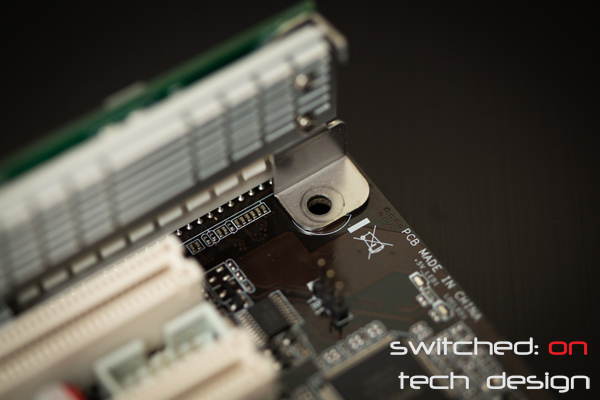
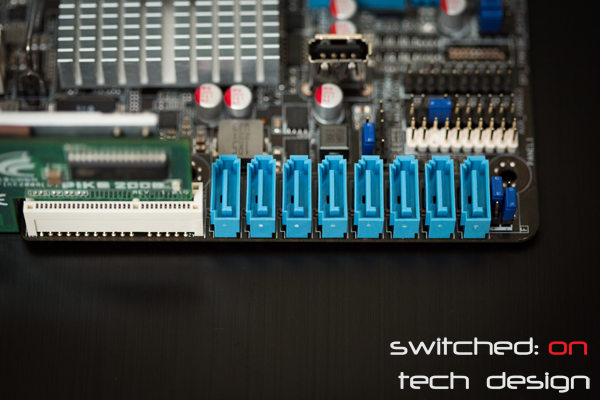
Don’t install the card without taking this screw out first, otherwise you’ll be taking it out and starting over. Now the card will activate the SAS/SATA ports next to it:
Easy done! Taking the card back out can be a little challenging with the metal clip on the side where the ports are, particularly if you have PCI cards still installed while you try to remove it (e.g. when the motherboard is still in the chassis). On the topic of removing the card while the motherboard is still in the chassis – as the card is quite short and the insertion pressure is reasonable so it’s quite difficult to remove in the chassis if there’s not a lot of space on both sides. A better idea is usually to take the motherboard out in these cases to minimise the risk of damage to the card or other board components.
You can buy the Asus PIKE 2008 card from Amazon.com: