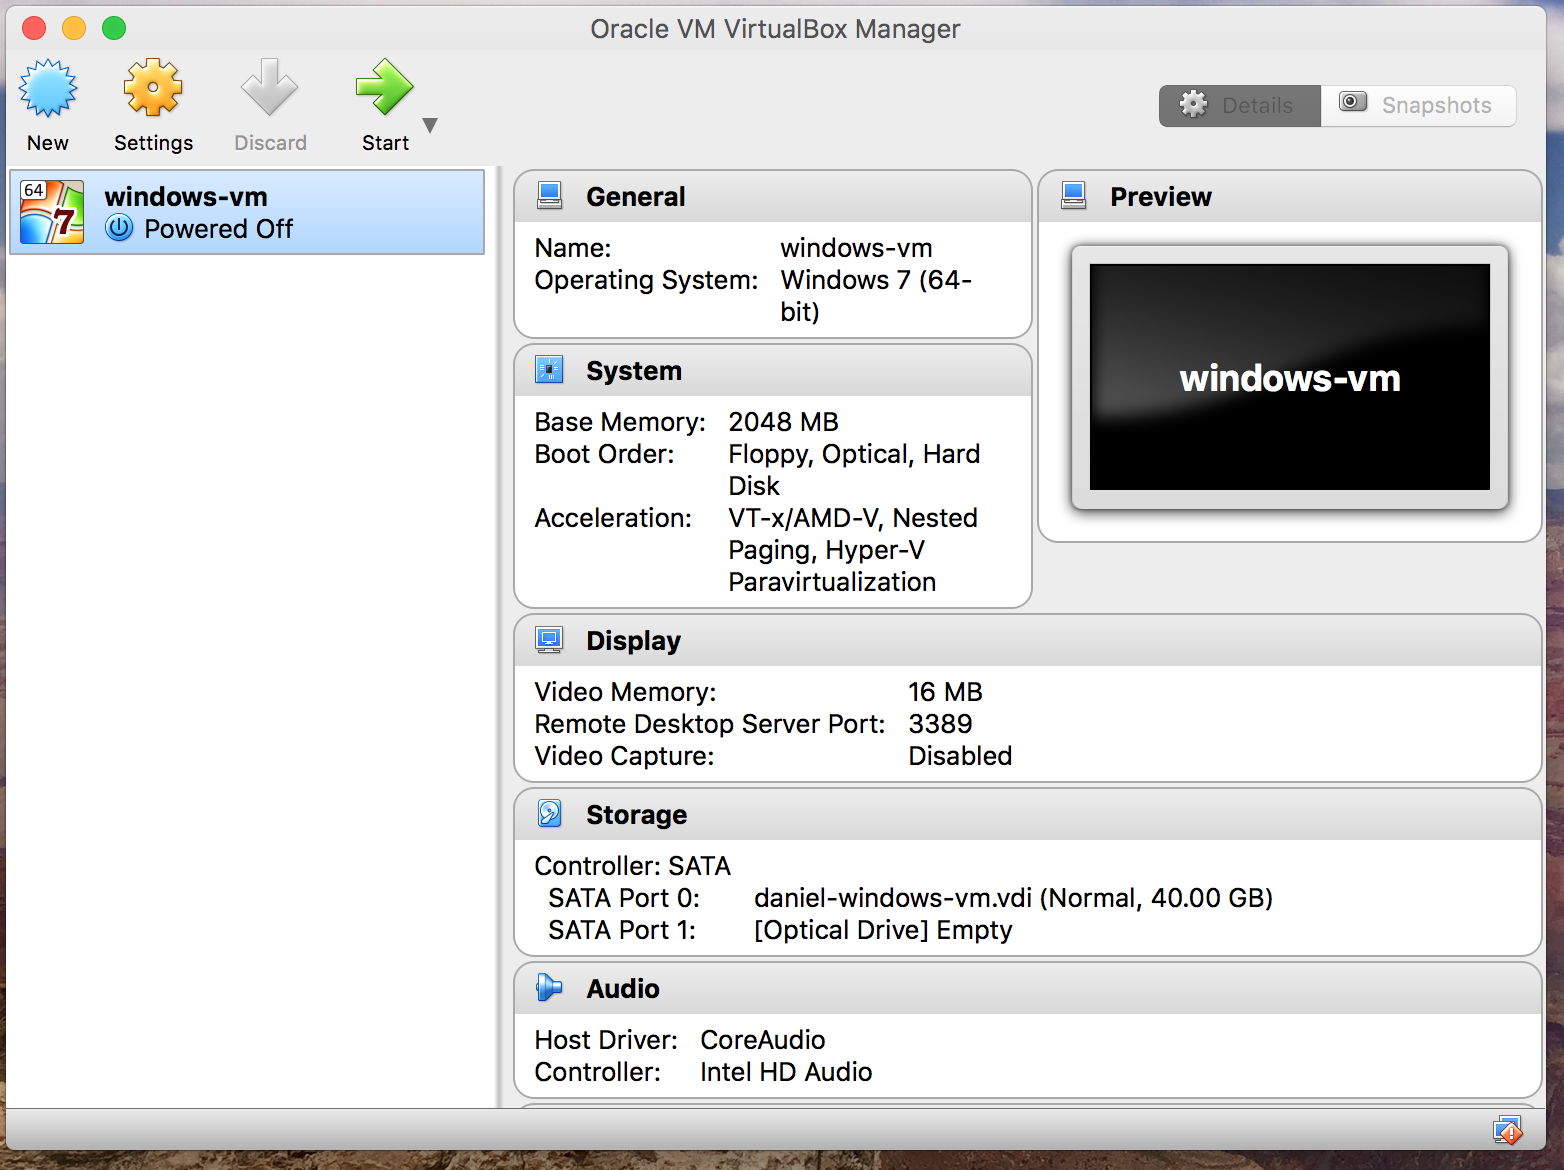
Running a Mac with Windows running in a Virtualbox virtual machine? Here’s how to pass through a USB device so that whenever the VM (Virtual Machine) is running and the USB device is plugged into a USB port it appears in the Windows VM and not in Mac OS X. Open up Virtualbox and make sure that the Windows VM is not running:
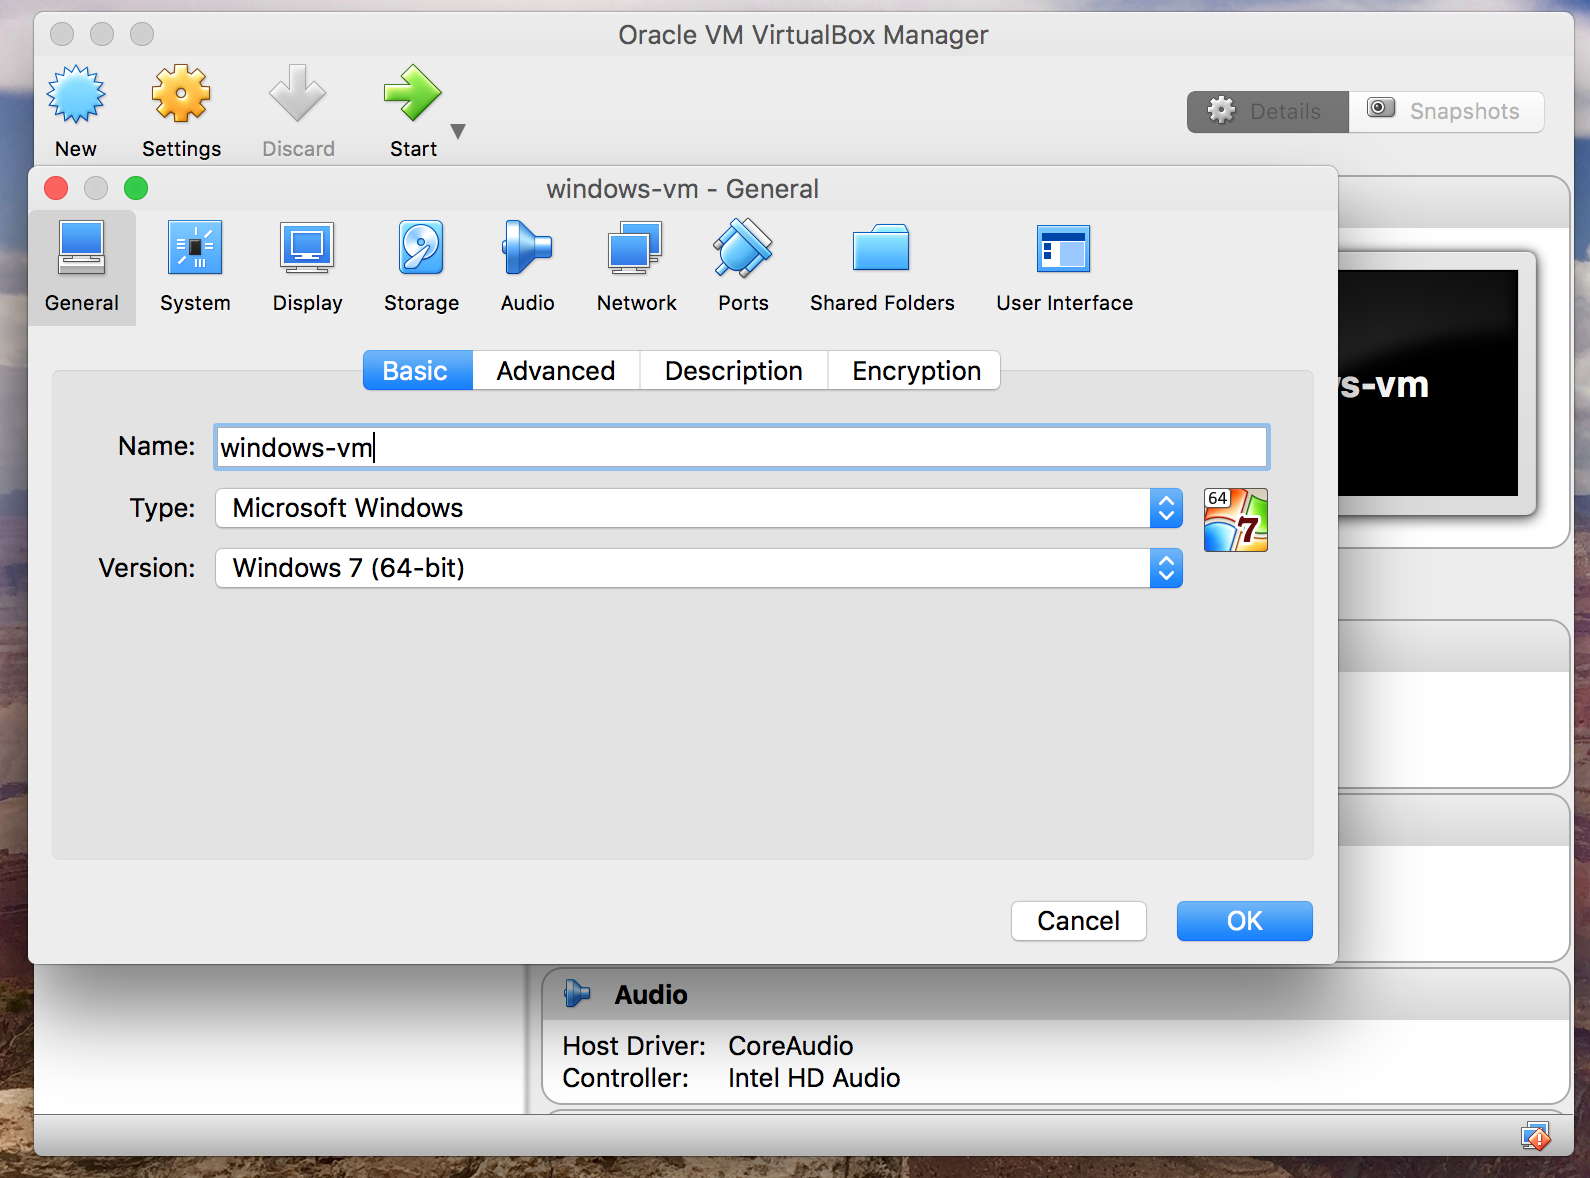
Click on “Settings” at the top and you should see this screen:
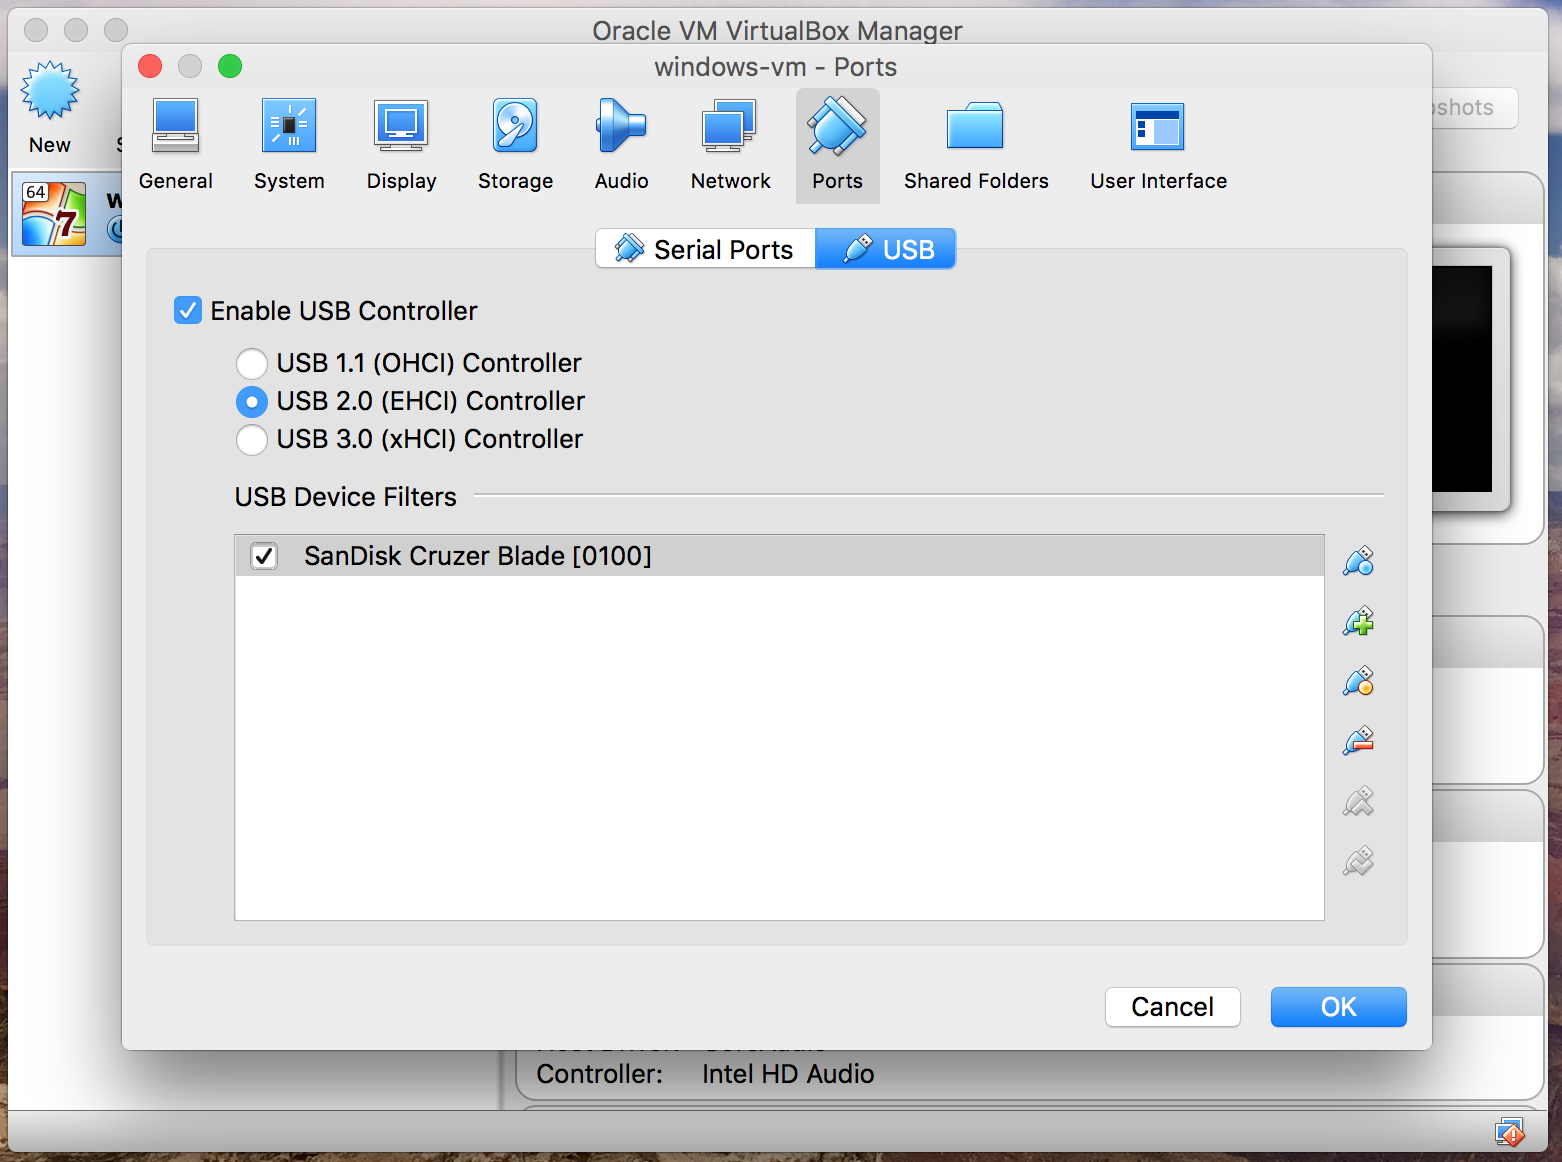
Click on “Ports” (third from the right hand side in the icon menu at the top):
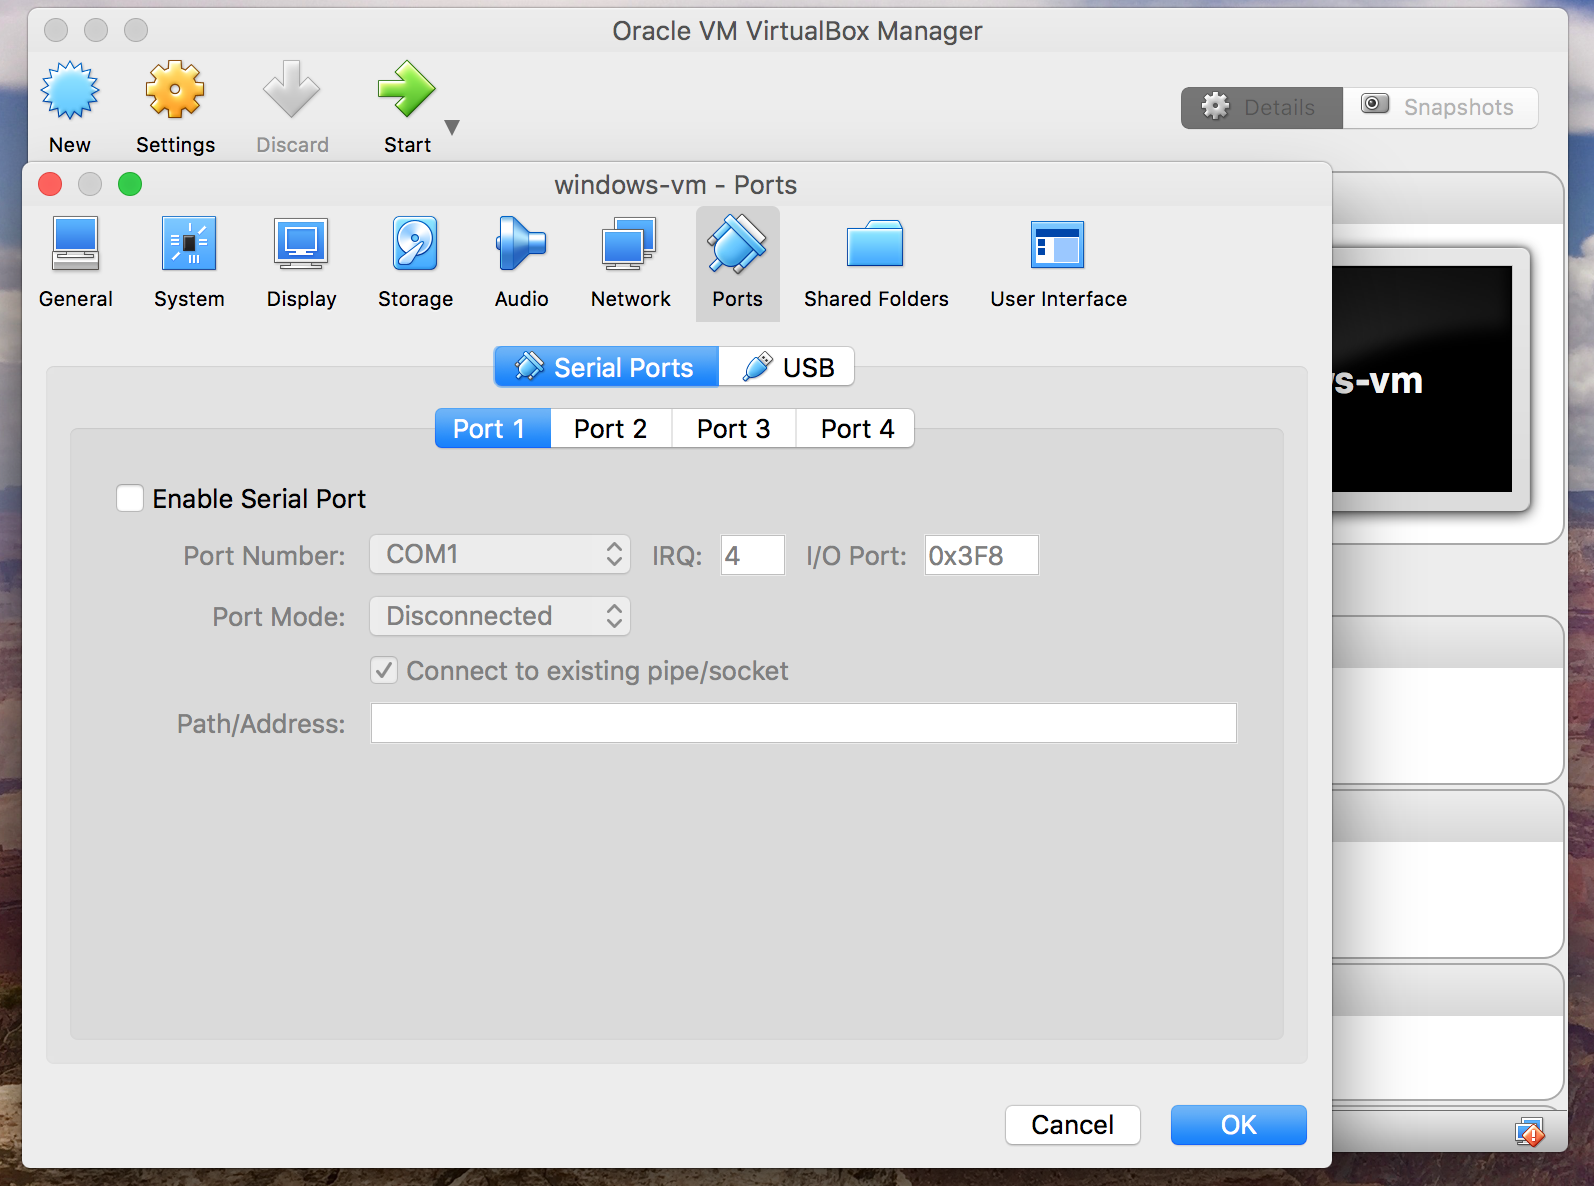
It defaults to Serial – click on USB:
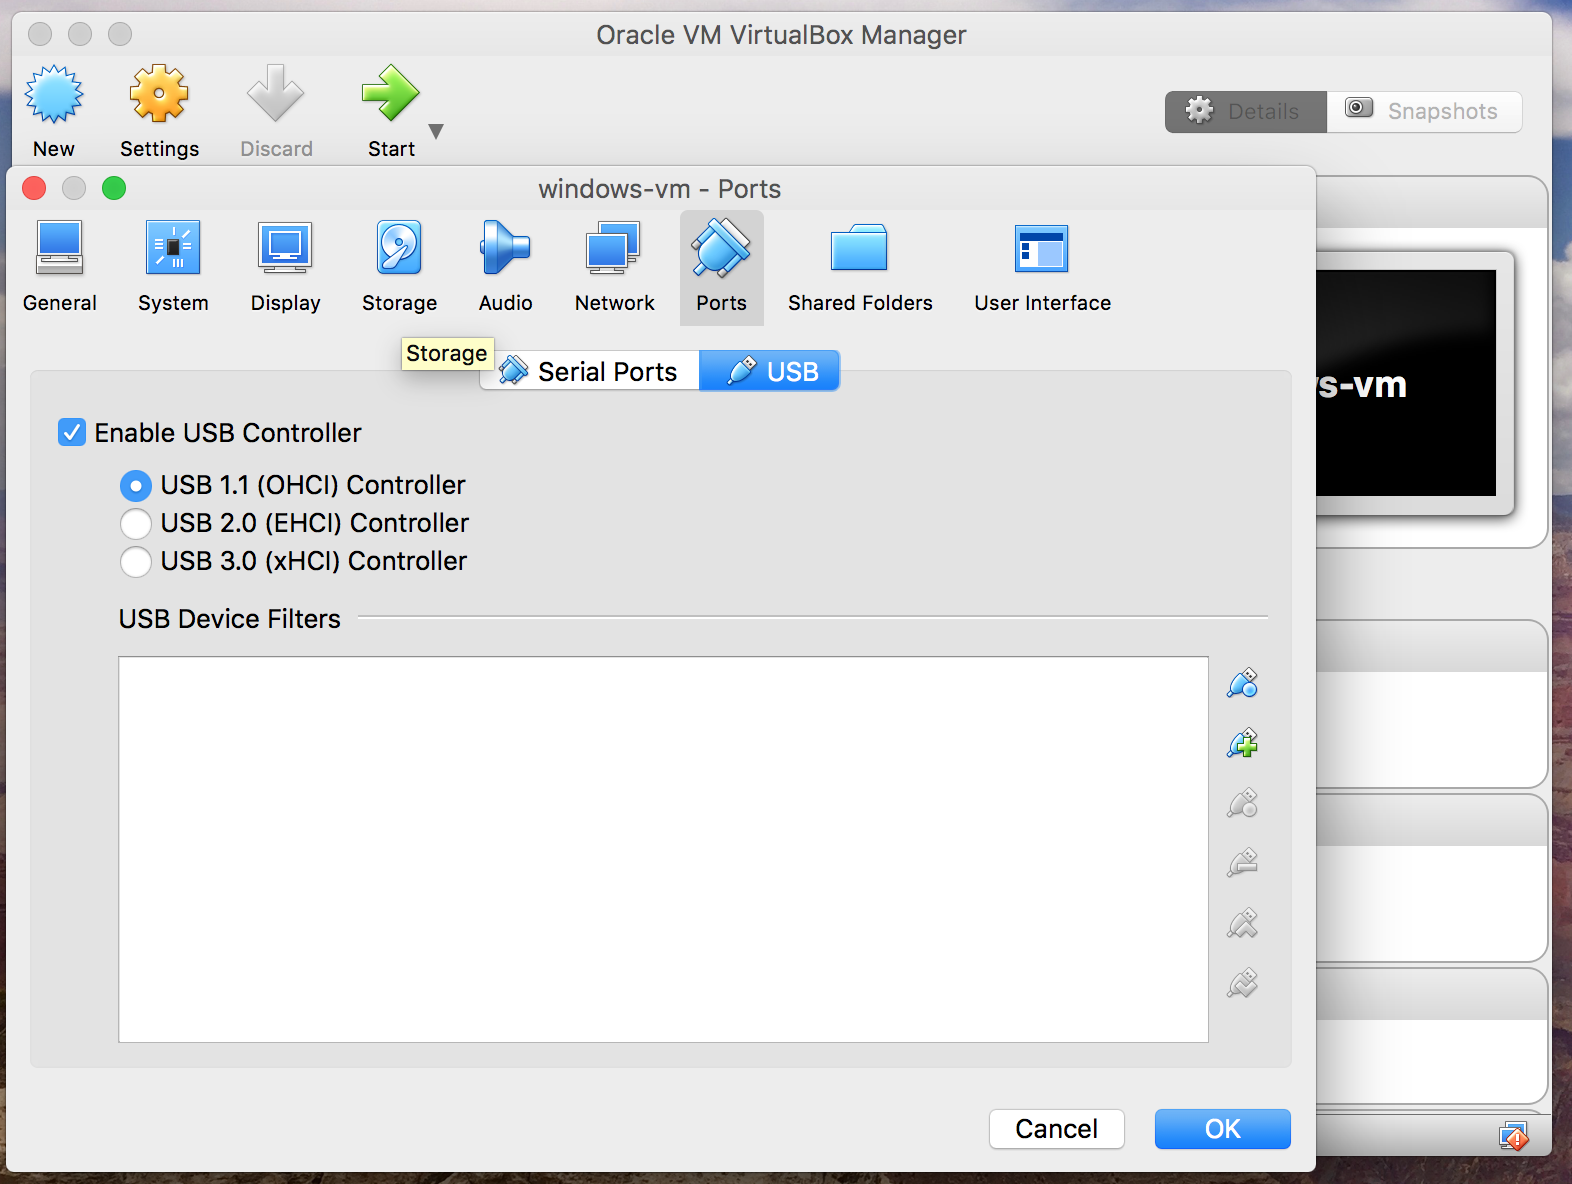
Nobody wants to be using USB 1.1 (slow) so click on USB 2.0:
Then plug in your USB device that you want to pass through. In a nutshell, we will be setting up the specific USB devices we select on this screen to be passed through to the Windows VM whenever they are plugged in while the VM is powered on. If the virtual machine is closed down when you plug in the USB device the normal Mac OS X system will read the USB device as usual.
Click on the icon on the right that has a little green plus and you should see a listing of USB devices that are eligible for passthrough:

In this instance we are selecting the SanDisk Cruzer Blade. Click on it.
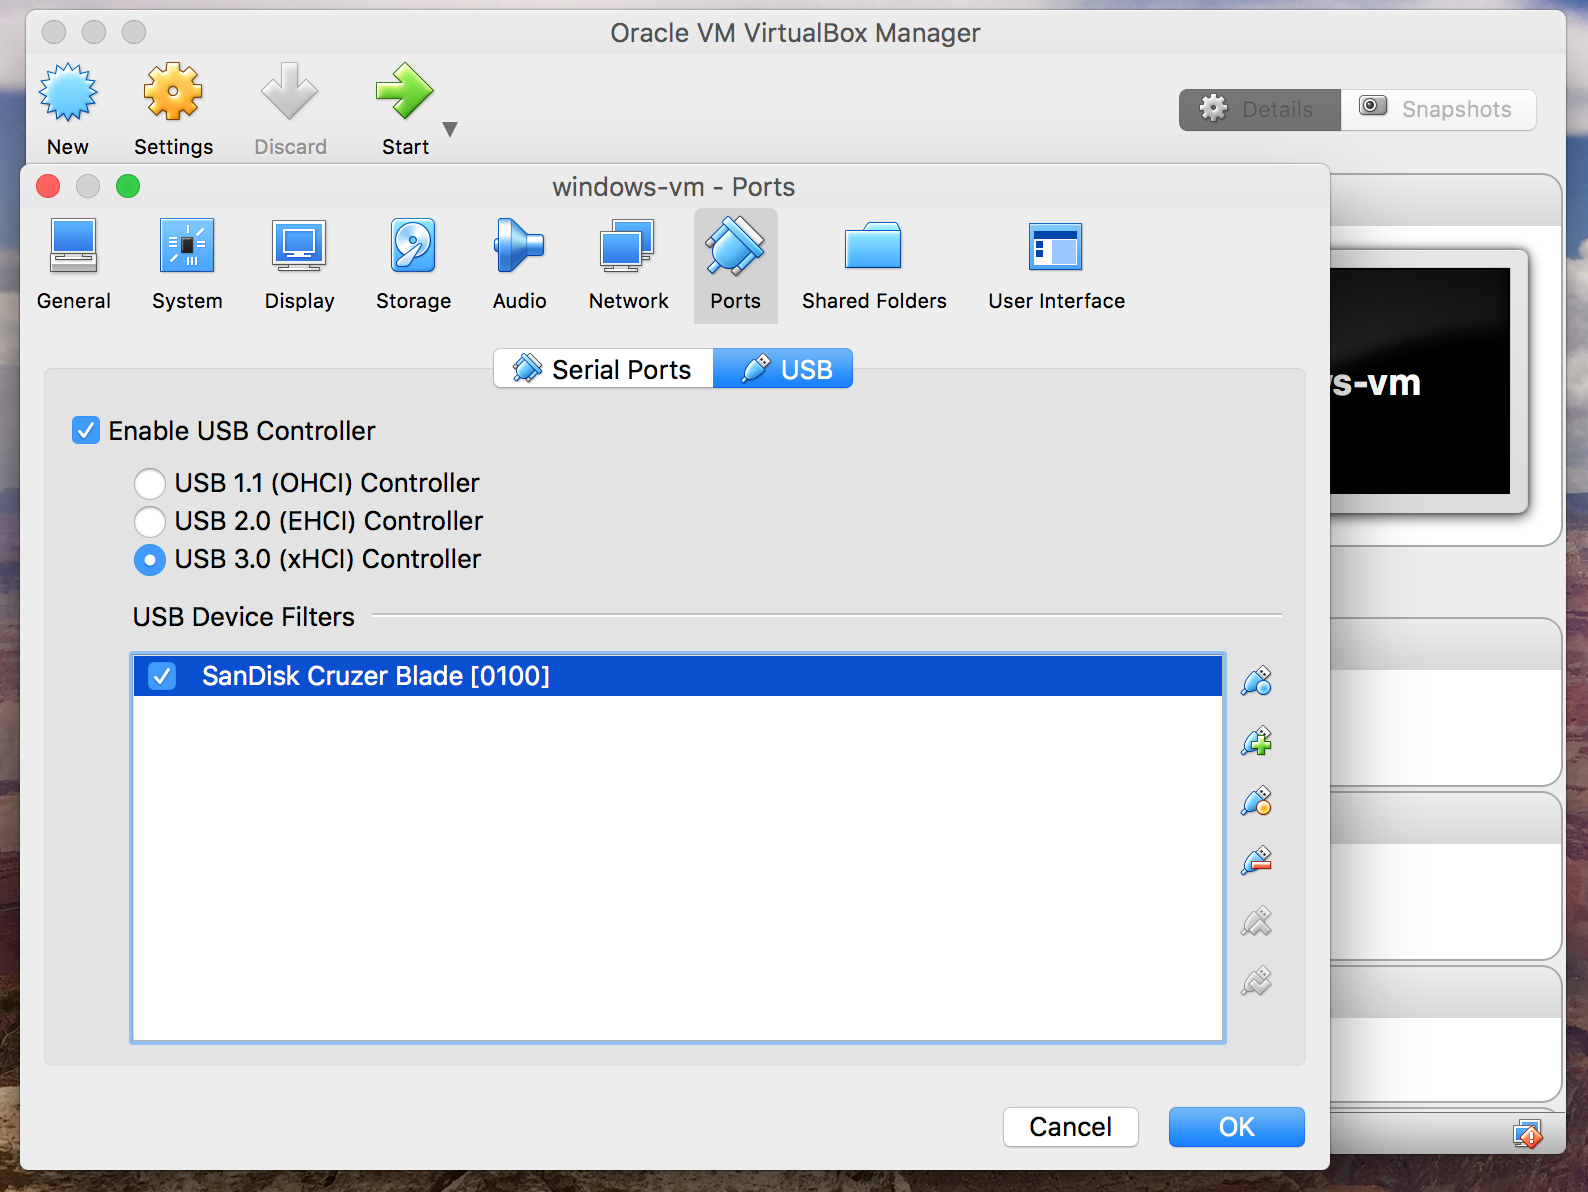
Now you should see it listed under “USB Device Filters”. The USB controller has been moved to USB 3.0 in the above screen shot – ignore that, as USB 3.0 currently does not work on Windows 7 VMs. Click OK, and go back to the main Virtualbox screen. Safely remove the USB device from your computer and then start the Windows virtual machine.
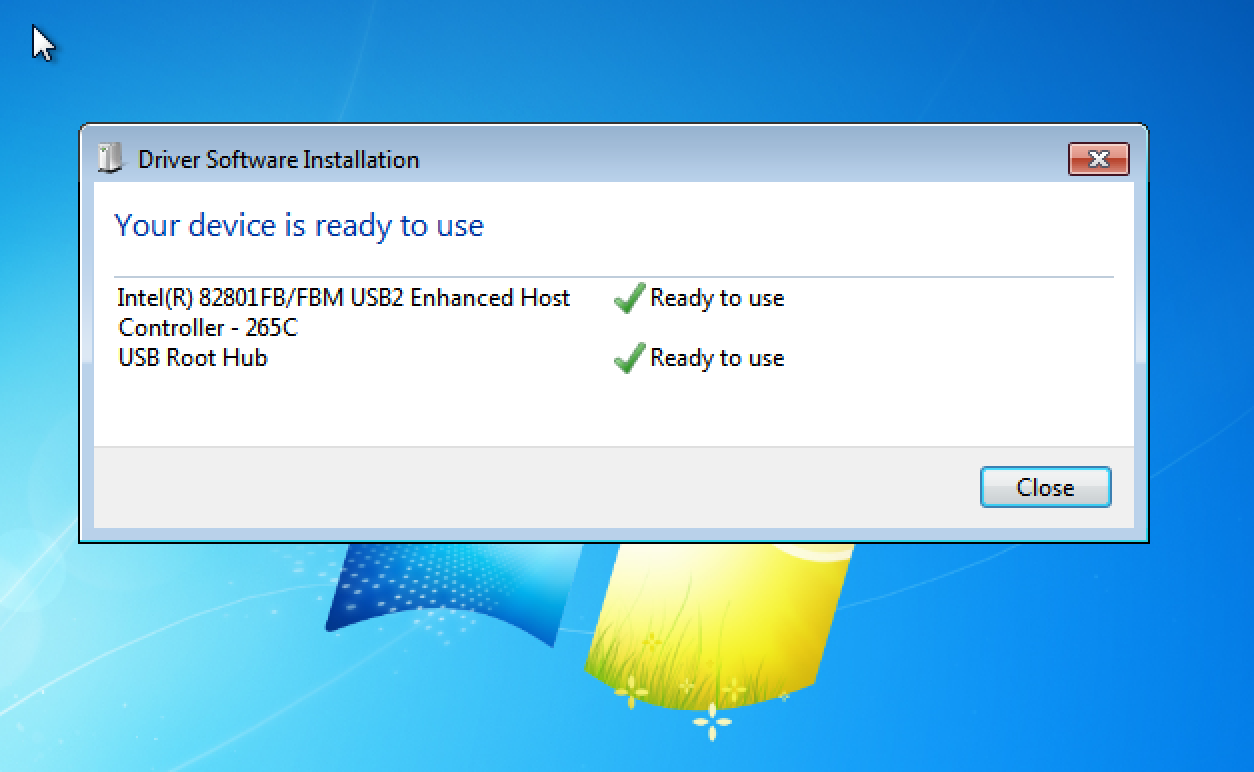
If you have only just selected USB 2.0 for the first time you will probably see the above screen. Otherwise, you can now plug your USB device in:
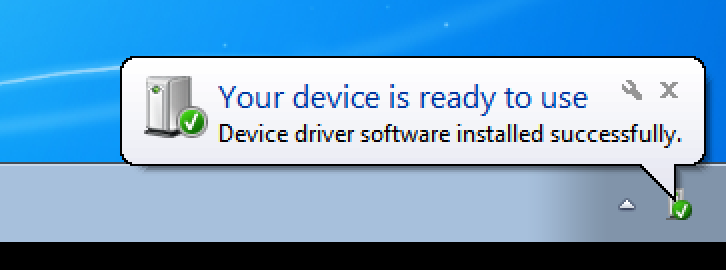
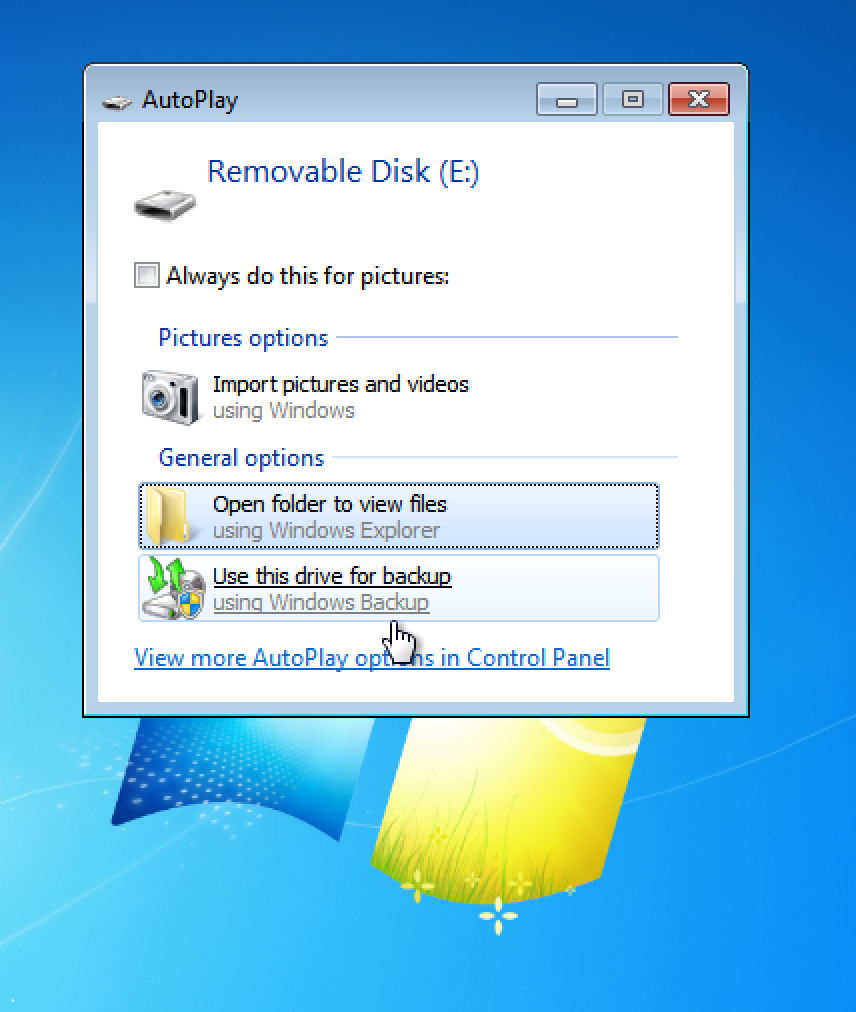
…and it should be picked up as if it were plugged into a physical Windows computer:
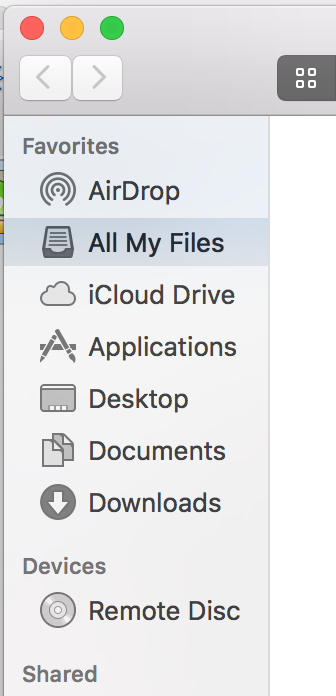
All done. Now, if you look in Finder in Mac OS X you won’t see the drive:
Closing down the VM, though, and unplugging/reinserting the drive will make it show up as normal:

In the above screen shot it is appearing as “NO NAME”.
All done! Incidentally, if you want a USB thumbdrive to work in both Windows and OS X you want it formatted into FAT32 or ExFAT rather than NTFS or Mac OS X Extended.
If you wish to remove the USB device from the passthrough list, click on the USB device in the list and then click on the little red minus sign on the right hand side.